The premise: your system is mechanical.
The good news: the maintenance is not technical. You do not need any tools beyond a flashlight and a 5-gallon bucket. The whole annual routine takes about an hour. Best timing is late March to early April, after the snow is mostly gone but before the spring thaw runs the system hard for the first time.
What follows is the routine we recommend to every WPNE customer at the end of the install. We also keep an internal record of when each customer's install was completed, so you can call us anytime to ask whether you are due for a service visit and we can give you a real answer.
The annual checklist.
Six steps, in order. Total time: about an hour. Done once a year, in late March or early April.
Walk the exterior grade
Check the gutters and downspouts
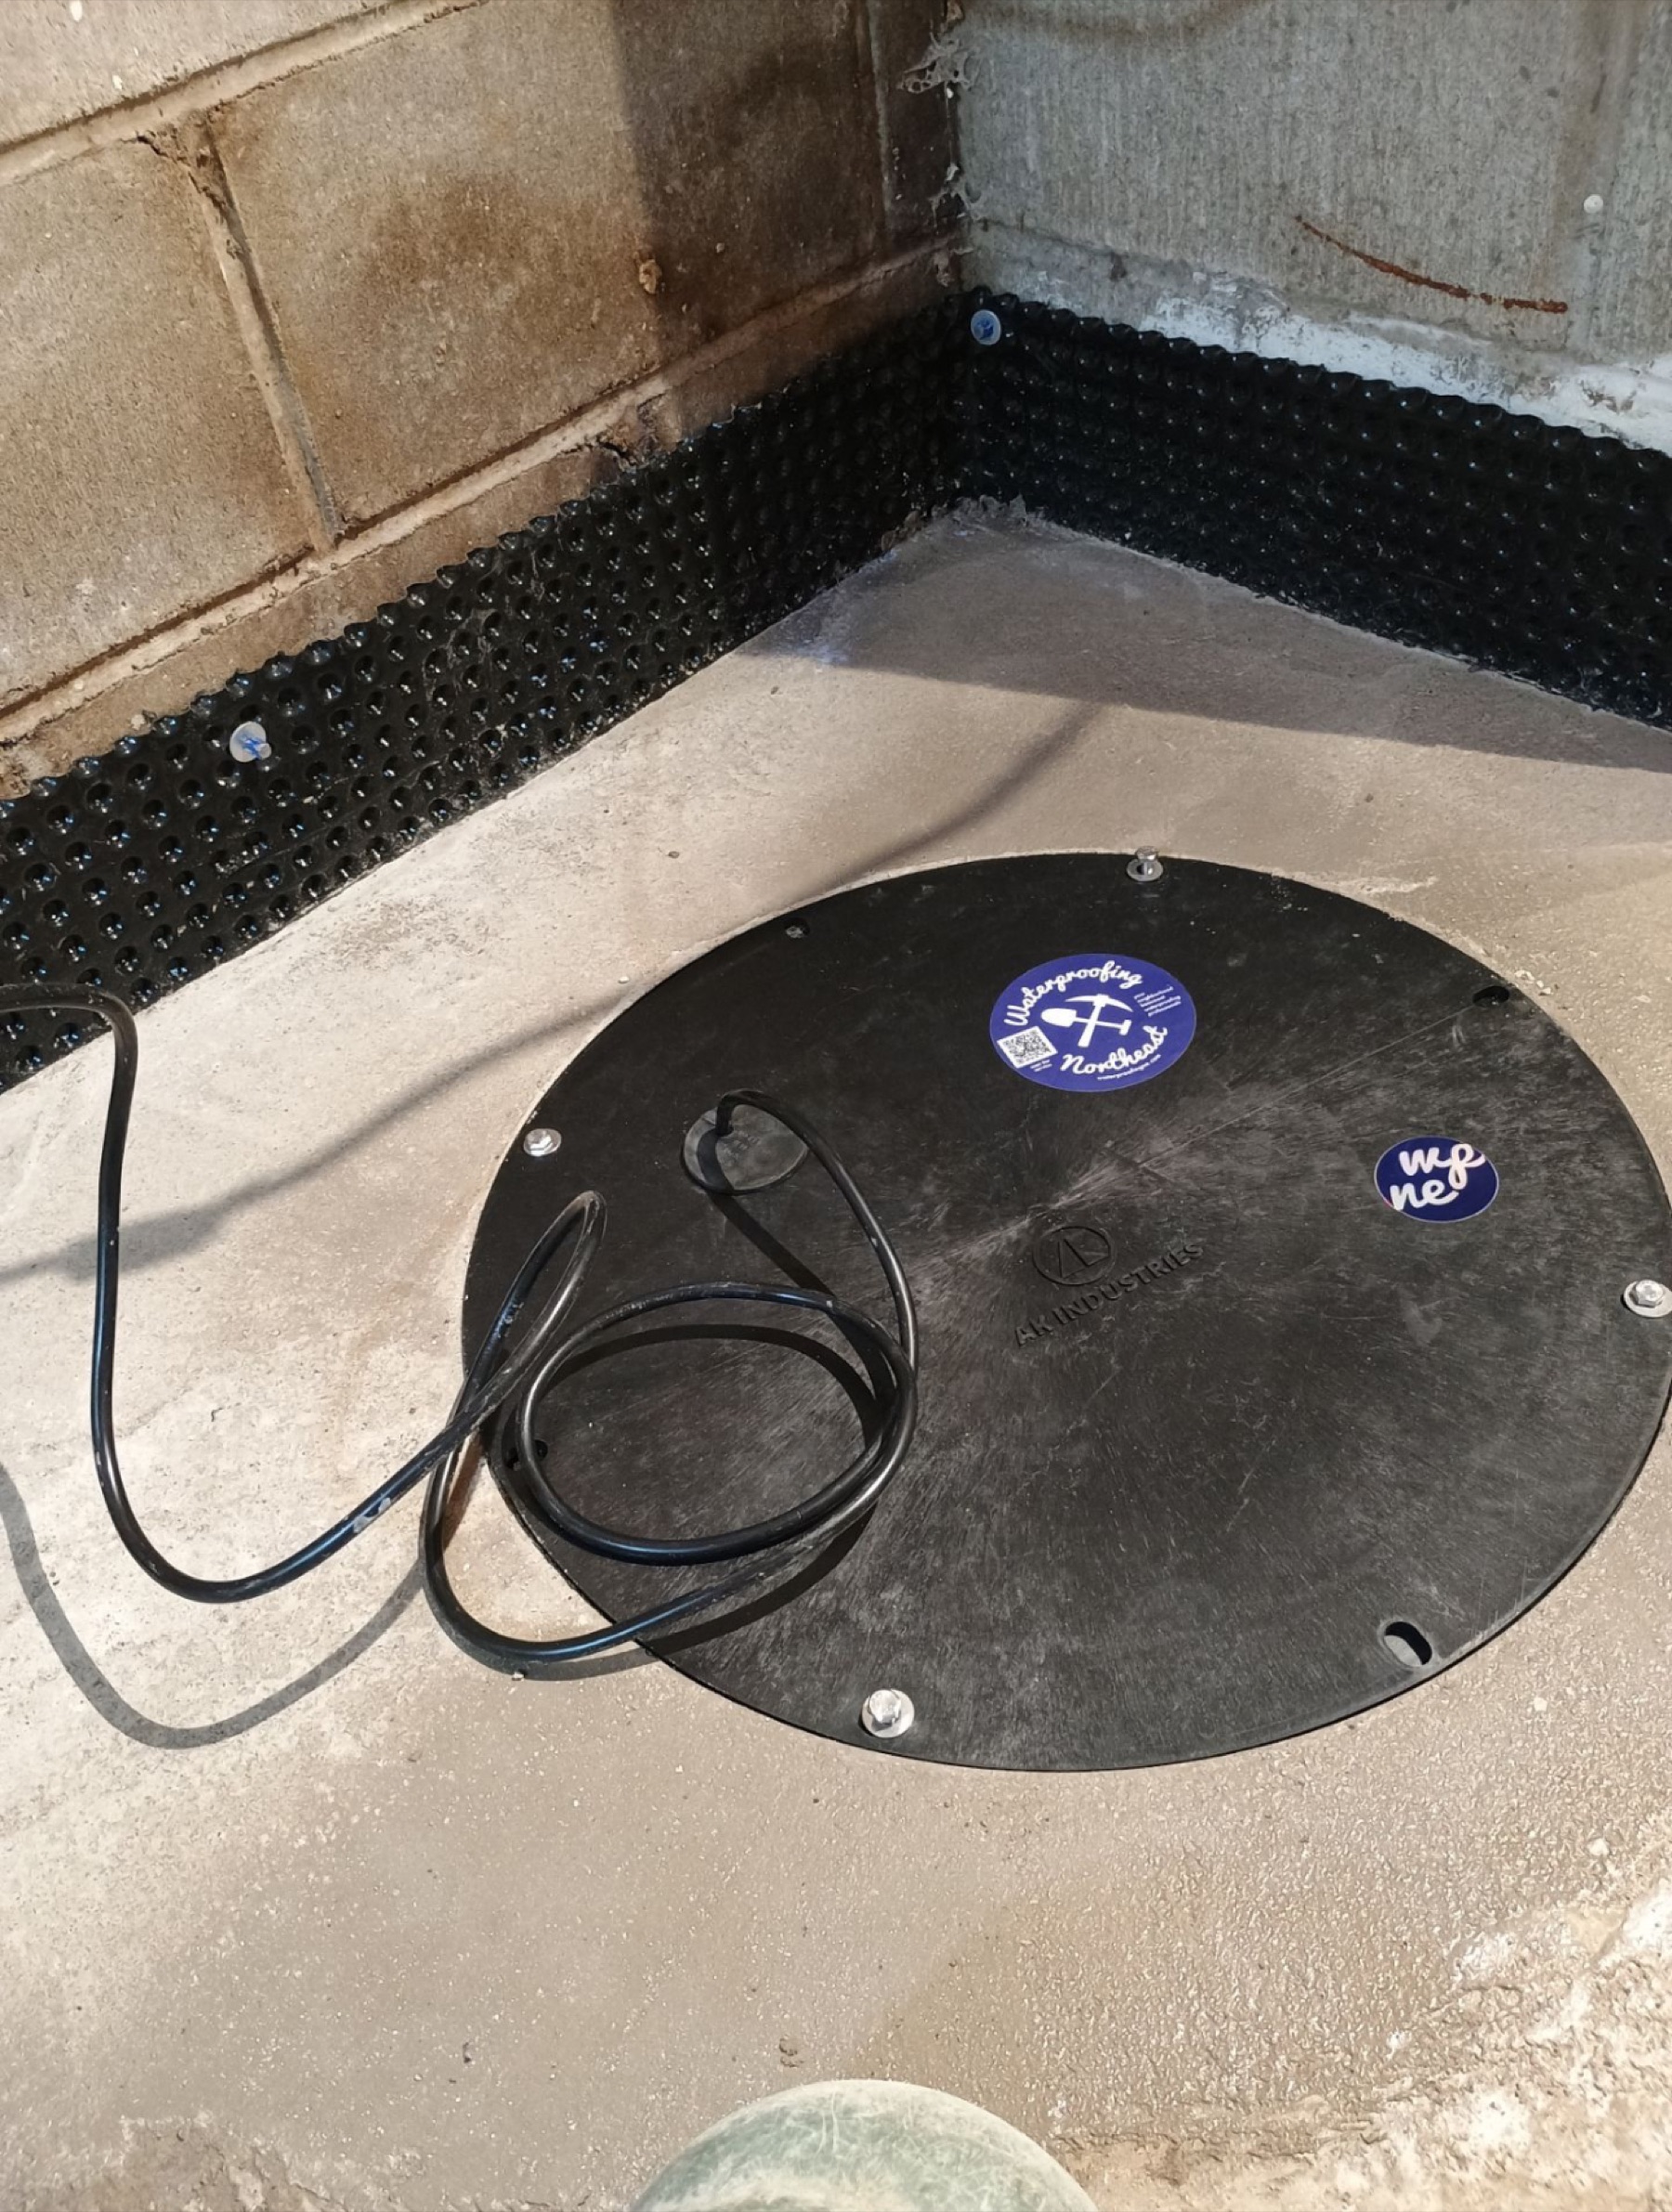
Test the sump pump
Walk to the discharge outlet
Visual check of the dimple membrane
Test the battery backup
One hour a year, six steps, no tools. The annual checklist is the single highest-ROI hour of homeowner time in the entire waterproofing system lifecycle.
The 5-year deeper checks.
Some parts of the system have a service life longer than a year but shorter than the system overall. Plan these checks at the 5-year mark from the install date, then every 3 to 5 years after.
Primary sump pump
A good residential primary pump (cast-iron Zoeller M53 or M98 class) has a typical service life of 7 to 12 years in normal use. In heavy-cycle conditions (Anoka Sand Plain, kettle-fill, anything with a high seasonal water table) the lower end of that range is realistic. At year 5, get on the calendar for a service inspection. We open the basin, check impeller condition, test cycle counts if the pump tracks them, and tell you honestly whether you have several more years or whether replacement before next spring is the right call. The labor on a planned replacement is a fraction of the cost (and stress) of an emergency replacement at 11 PM in a March storm.
Battery backup pump and battery
The AGM battery in a battery-backup system is the part that wears out, not the pump itself. Batteries should be tested annually (step 6 above) and planned for replacement at the 3 to 5 year mark. The pump itself typically outlasts 2 to 3 battery generations.
Discharge line
Underground discharge lines accumulate sediment over time, especially in the first few feet after the pump where flow velocity drops. At year 5, run a hose into the discharge inlet and confirm the line is still flowing freely. If it backs up, the line needs to be flushed or, in extreme cases, replaced. Most lines last 15 to 25 years; the variability is mostly about soil type and discharge volume.
Sealed sump basin lid and seals
The rubber grommets around the discharge pipe and cable entries dry out and harden over time. A leaky lid lets humid air out of the pit and into the basement, which is the opposite of what the sealed lid is for. Replacing the grommets is a 15-minute job; we do it under standard service rates. Plan it at year 7 or so.
Warning signs to escalate.
The annual checklist catches most of what is going to go wrong in time to address it. But some signs warrant a call before next April.
- •Pump cycling on every few minutes when there is no rain (the float switch or check valve is failing, or there is a continuous water source you do not know about)
- •Pump running continuously without seeming to lower the water level (impeller damage, blocked discharge, or wrong-sized pump for the load)
- •New efflorescence (white powder) on a wall the system was supposed to protect
- •Visible water entry through the cove joint along the perimeter we treated
- •Musty smell that has come back after install
- •Cracking sounds from the slab or new visible slab cracks in the area we treated
- •Battery backup alarm beeping persistently, not just on a test
- •Wait until spring to call about a problem you noticed in November
- •Assume it will fix itself
- •Tear out finished basement materials before we have looked at the system
- •Replace a pump or part yourself if the system is still under warranty (you may void coverage)
What to leave alone.
Some maintenance moves do more harm than good. Common mistakes to avoid:
- Do not pour bleach or chemical drain cleaner into the sump basin. It corrodes the pump impeller and degrades the check valve seal. If the basin smells, the issue is usually a leaky lid (see the 5-year section) or a dry trap on a nearby floor drain.
- Do not seal the air gap around the sump basin lid. The lid is supposed to be vented at the controlled grommets. Sealing it shut can pressurize the basin under heavy pump load.
- Do not stuff insulation tight against the perimeter dimple membrane. The whole point of the dimple board is the air gap it creates behind it. Crushing the dimples eliminates the drainage channel.
- Do not paint or seal the visible portion of the dimple membrane. It needs to breathe.
- Do not run a continuous-drain dehumidifier hose into the sump basin without checking the pump cycle rate. Adds artificial load to the pump in months when there is no actual groundwater. Talk to a licensed HVAC contractor about the right humidity strategy.
When to call us.
We are happy to walk through the annual checklist over the phone if you are not sure about something. We are happier to come look in person if the answer matters. The right times to call:
- You are due for the 5-year service check. We will tell you honestly whether you are still in good shape or whether anything is approaching end-of-service-life.
- You see one of the warning signs above. Sooner is cheaper than later.
- You are planning a basement finishing project. Talk to us first about how the finishes will sit against the system, what access points need to stay accessible, and what gets buried where. Cheap conversation, expensive to retrofit later.
- You are selling the house. We provide warranty-transfer paperwork at no charge so the next owner inherits the same lifetime transferable warranty you have. It is one of the most underrated resale benefits of having had real waterproofing work done.
- You bought a house with a WPNE-installed system. Call us and we will look it up by address, share the install record, and transfer the warranty into your name. No charge.
The annual checklist is yours to run. Everything else, we are still here.